Build your own Gatling project from 0 to 1
Gradle + Scala versions
Create an empty Gradle project
mkdir gatling-gradle-demo
cd gatling-gradle-demo
gradle init
Configure the project build.gradle
Add the following to the build.gradle file in the project
You can copy the content of the build.gradle file in this project, for more configurations, please refer to the official documentation.
// Plugin Configuration
plugins {
    id 'scala' // scala plugin declaration (based on the development tools plugin)
    id 'io.gatling.gradle' version '3.9.5.6' // declaration of the version of the gradle-based gatling framework plugin
}
// Repository source configuration
repositories {
  // Use the maven central repository source
  mavenCentral()
}
// gatling configuration
gatling {
  // logback root level, defaults to the Gatling console log level if logback.xml does not exist in the configuration folder
  logLevel = 'WARN'

  // Enforce logging of HTTP requests at a level of detail
  // set to 'ALL' for all HTTP traffic in TRACE, 'FAILURES' for failed HTTP traffic in DEBUG
  logHttp = 'FAILURES'

  // Simulations filter
  simulations = {
      include "**/simulation/*.scala"
  }
}
// Dependencies
dependencies {
 // Charts library for generating report charts
 gatling 'io.gatling.highcharts:gatling-charts-highcharts:3.8.3'
 }
gradle build project and initialize
- Open the Terminal window of the project with an editor and execute the following command to confirm that the project build was successful
gradle build
- Initialization complete: After completing the wizard, Gradle will generate a basic Gradle project structure in the project directory
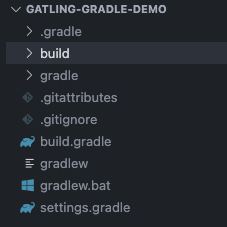
Initialization Directory
Create a simulation directory in the src/gatling/scala directory to hold test scripts
Gatling tests are usually located in the src/gatling directory. You need to manually create the src directory in the project root, and then create the gatling directory under the src directory. In the gatling directory, you can create your test simulation folder simulation, as well as other folders such as data, bodies, resources, and so on.
Writing Scripts
Create a demo.scala file in the simulation directory to write your test scripts.
For reference, the following is a sample script
The script contains two scenarios, one for get requests and one for post requests. The get API validates that the API returns a status code of 200 and the post API validates that the API returns a status code of 201. The get API uses rampUsers, the post API uses constantConcurrentUsers. rampUsers: incrementally increase the number of concurrent users over a specified period of time, constantConcurrentUsers: keep the number of concurrent users constant over a specified period of time. The number of concurrent users is 10 for both APIs, and the duration is 10 seconds for both APIs. The request interval is 2 seconds for both APIs.
package simulation

import scala.concurrent.duration._

import io.gatling.core.Predef._
import io.gatling.http.Predef._

class demo extends Simulation {

  val httpProtocol = http
    .baseUrl("https://jsonplaceholder.typicode.com") // 5
  val scn = scenario("GetSimulation")
    .exec(http("get_demo")
      .get("/posts/1")
      .check(status.is(200)))
    .pause(2)
  val scn1 = scenario("PostSimulation")
    .exec(http("post_demo")
      .post("/posts")
      .body(StringBody("""{"title": "foo","body": "bar","userId": 1}""")).asJson
      .check(status.is(201)))
    .pause(2)

  setUp(
    scn.inject(rampUsers(10) during(10 seconds)),
    scn1.inject(constantConcurrentUsers(10) during(10 seconds))
  ).protocols(httpProtocol)
}
Debugging Scripts
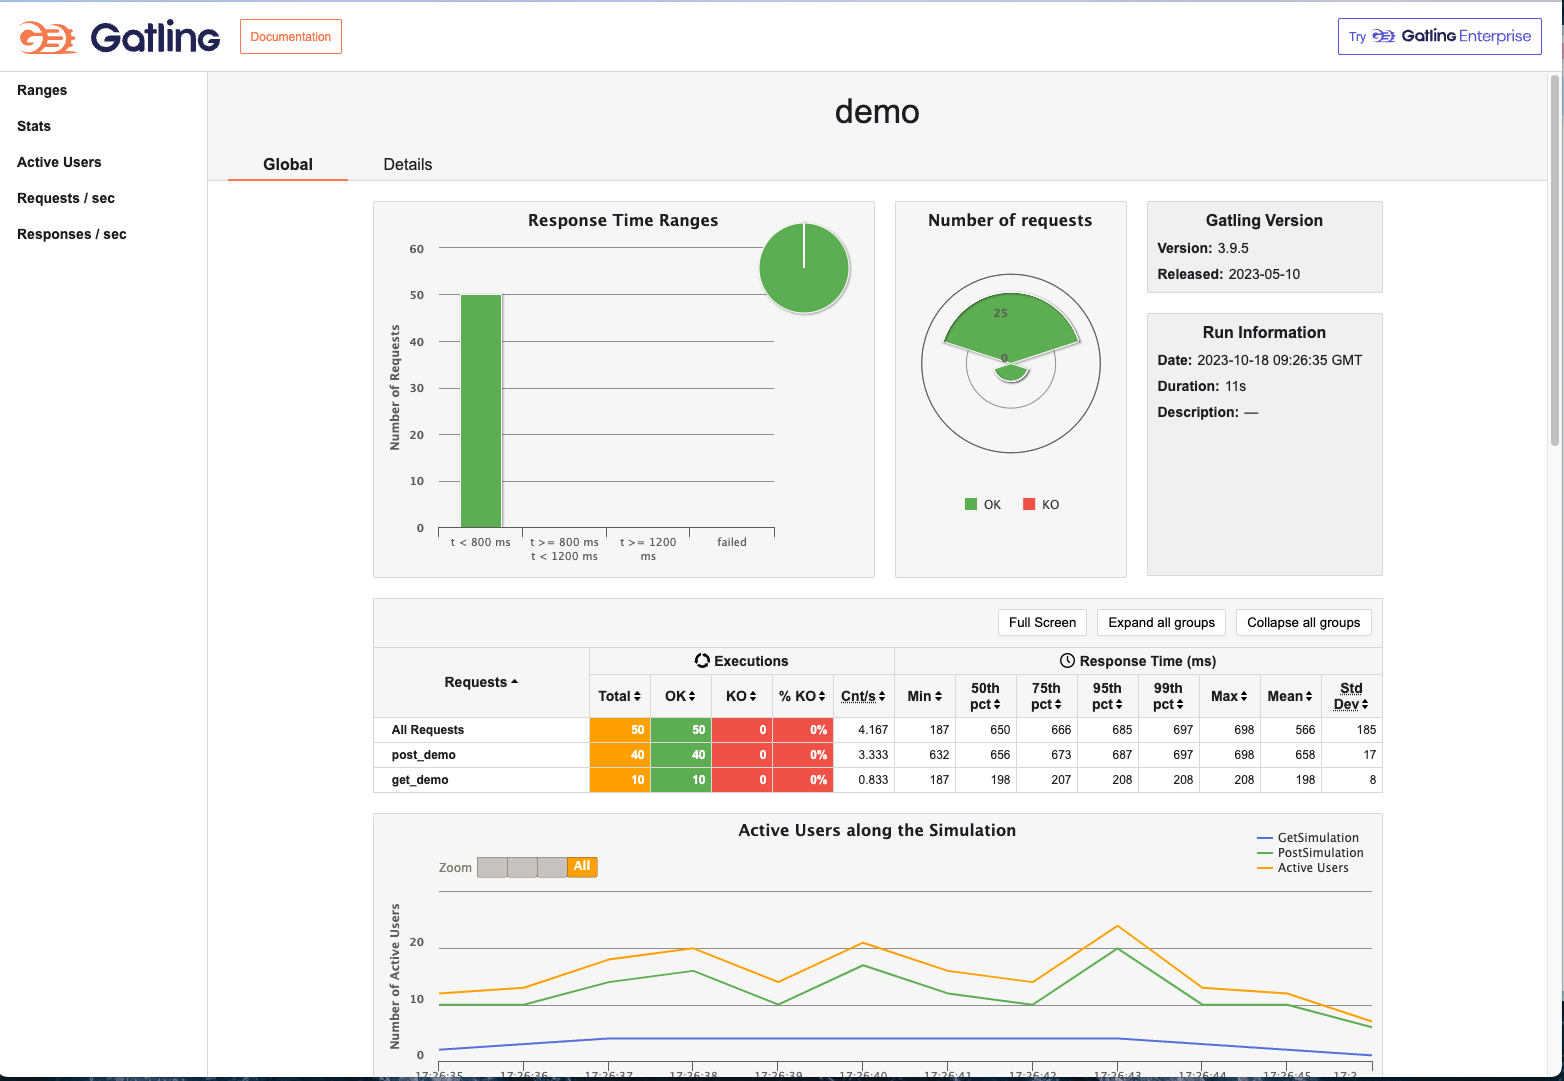
Execute the following command to run the test script and view the report
gradle gatlingRun
Maven + Scala version
Create an empty Maven project
mvn archetype:generate -DgroupId=demo.gatlin.maven -DartifactId=gatling-maven-demo
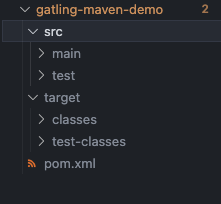
Initialization complete: After completing the wizard, Maven will create a new project directory and generate a basic Maven project structure in the
Configure the project pom.xml
Add the following contents to the pom.xml file in the project
You can copy the contents of the pom.xml file in this project, for more configuration, please refer to the official documentation.
<!-- dependencies Configuration -->
<dependencies>
  <dependency>
    <groupId>io.gatling.highcharts</groupId>
    <artifactId>gatling-charts-highcharts</artifactId>
    <version>3.9.5</version>
    <scope>test</scope>
  </dependency>
</dependencies>
<!-- Plugin Configuration -->
  <build>
    <plugins>
      <plugin>
        <groupId>io.gatling</groupId>
        <artifactId>gatling-maven-plugin</artifactId>
        <version>4.6.0</version>
      </plugin>
      <plugin>
        <groupId>net.alchim31.maven</groupId>
        <artifactId>scala-maven-plugin</artifactId>
        <version>4.8.1</version>
        <configuration>
          <scalaVersion>2.13.12</scalaVersion>
        </configuration>
        <executions>
          <execution>
            <goals>
              <goal>testCompile</goal>
            </goals>
            <configuration>
              <jvmArgs>
                <jvmArg>-Xss100M</jvmArg>
              </jvmArgs>
              <args>
                <arg>-deprecation</arg>
                <arg>-feature</arg>
                <arg>-unchecked</arg>
                <arg>-language:implicitConversions</arg>
                <arg>-language:postfixOps</arg>
              </args>
            </configuration>
          </execution>
        </executions>
      </plugin>
    </plugins>
  </build>
Initialization Directory
Create a simulation directory in the src/test/scala directory to hold the test scripts
scala tests are usually located in the src/test directory. You need to create a scala directory under the project test directory. In the scala directory, you can create your test simulation folder simulation, as well as other folders such as data, bodies, resources, and so on.
Writing Scripts
Create a demo.scala file in the simulation directory to write your test scripts.
For reference, the following is a sample script
The script contains two scenarios, one for get requests and one for post requests. The get API validates that the API returns a status code of 200 and the post API validates that the API returns a status code of 201. The get API uses rampUsers, the post API uses constantConcurrentUsers. rampUsers: incrementally increase the number of concurrent users over a specified period of time, constantConcurrentUsers: keep the number of concurrent users constant over a specified period of time. The number of concurrent users is 10 for both APIs, and the duration is 10 seconds for both APIs. The request interval is 2 seconds for both APIs.
package simulation

import scala.concurrent.duration._

import io.gatling.core.Predef._
import io.gatling.http.Predef._

class demo extends Simulation {

  val httpProtocol = http
    .baseUrl("https://jsonplaceholder.typicode.com") // 5
  val scn = scenario("GetSimulation")
    .exec(http("get_demo")
      .get("/posts/1")
      .check(status.is(200)))
    .pause(2)
  val scn1 = scenario("PostSimulation")
    .exec(http("post_demo")
      .post("/posts")
      .body(StringBody("""{"title": "foo","body": "bar","userId": 1}""")).asJson
      .check(status.is(201)))
    .pause(2)

  setUp(
    scn.inject(rampUsers(10) during(10 seconds)),
    scn1.inject(constantConcurrentUsers(10) during(10 seconds))
  ).protocols(httpProtocol)
}
Debugging Scripts
Execute the following command to run the test script and view the report
mvn gatling:test