从 0 到 1 搭建 REST Assured 接口测试项目
REST Assured 支持 Gradle 和 Maven 两种构建工具,你可以根据自己的喜好选择其中一种。下面分别介绍 Gradle 和 Maven 两种构建工具的项目初始化过程。
本项目使用 Gradle 8.44 和 Maven 3.9.5 进行构建,如果你使用的是其他版本,可能会有不同。
Gradle 版本
可参考 demo 项目:https://github.com/Automation-Test-Starter/RestAssured-gradle-demo
创建一个空的 Gradle 工程
mkdir RestAssured-gradle-demo
cd RestAssured-gradle-demo
gradle init
配置项目 build.gradle
demo 项目引入了 testNG 测试框架,仅供参考
- 在项目根目录下创建一个 build.gradle 文件,用于配置项目
- 示例配置如下,可供参考
// 插件配置
plugins {
    id 'java' // 使用 java 插件
}

// 仓库资源配置
repositories {
  mavenCentral() // 使用 maven中央版本库源
}

// 项目依赖配置
dependencies {
    testImplementation 'io.rest-assured:rest-assured:5.3.1' // 添加rest-assured依赖
    testImplementation 'org.testng:testng:7.8.0' // 添加TestNG测试框架依赖
    implementation 'org.uncommons:reportng:1.1.4' // 添加testng 测试报告依赖
    implementation 'org.slf4j:slf4j-api:2.0.9' // 添加测试日志依赖
    implementation 'org.slf4j:slf4j-simple:2.0.9' // 添加测试日志依赖
    implementation group: 'com.google.inject', name: 'guice', version: '7.0.0'
}

// 项目测试配置
test {
    reports.html.required = false // 禁用 gradle 原生HTML 报告生成
    reports.junitXml.required = false // 禁用 gradle 原生 JUnit XML 报告生成
    // 告诉 Gradle 使用 TestNG 作为测试框架
    useTestNG() {
        useDefaultListeners = true
        suites 'src/test/resources/testng.xml' // 声明 testng 的 xml 配置文件路径
    }
    testLogging.showStandardStreams = true // 将测试日志输出到控制台
    testLogging.events "passed", "skipped", "failed" // 定义测试日志事件类型
}
可 copy 本项目中的 build.gradle 文件内容,更多配置可参考官方文档
testng.xml 配置
-
在 src/test目录下创建一个 resources 目录,用于存放测试配置文件
-
在 resources 目录下创建一个 testng.xml 文件,用于配置 TestNG 测试框架
-
示例配置如下,可供参考
<?xml version="1.0" encoding="UTF-8"?>
<!DOCTYPE suite SYSTEM "http://testng.org/testng-1.0.dtd">
<suite name="restAssured-gradleTestSuite">
<test thread-count="1" name="Demo">
    <classes>
        <class name="com.example.TestDemo"/> <!-- 测试脚本 class-->
    </classes>
</test> <!-- Test -->
</suite> <!-- Suite -->
gradle build 项目并初始化
- 用编辑器打开本项目 Terminal 窗口,执行以下命令确认项目 build 成功
gradle build
- 初始化完成:完成向导后,Gradle 将在项目目录中生成一个基本的 Gradle 项目结构
初始化目录
目录结构可参考 » 项目结构
在项目的测试源目录下创建一个新的测试类。默认情况下,Gradle 通常将测试源代码放在 src/test/java 目录中。你可以在该目录下创建测试类的包,并在包中创建新的测试类
创建一个 TestDemo 的测试类,可以按以下结构创建文件
src
└── test
    └── java
        └── com
            └── example
                └── TestDemo.java
demo 测试接口
Get 接口
- HOST: https://jsonplaceholder.typicode.com
- 接口地址:/posts/1
- 请求方式:GET
- 请求参数:无
- 请求头:“Content-Type”: “application/json; charset=utf-8”
- 请求体:无
- 返回状态码:200
- 返回头:“Content-Type”: “application/json; charset=utf-8”
- 返回 body:
{
    "userId": 1,
    "id": 1,
    "title": "sunt aut facere repellat provident occaecati excepturi optio reprehenderit",
    "body": "quia et suscipit\nsuscipit recusandae consequuntur expedita et cum\nreprehenderit molestiae ut ut quas totam\nnostrum rerum est autem sunt rem eveniet architecto"
}
Post 接口
- HOST: https://jsonplaceholder.typicode.com
- 接口地址:/posts
- 请求方式:POST
- 请求参数:无
- 请求头:“Content-Type”: “application/json; charset=utf-8”
- 请求体:raw json 格式 body 内容如下:
{
    "title": "foo",
    "body": "bar",
    "userId": 1
}
- 返回状态码:201
- 返回头:“Content-Type”: “application/json; charset=utf-8”
- 返回 body:
{
    "title": "foo",
    "body": "bar",
    "userId": 1,
    "id": 101
}
编写脚本
-
打开 TestDemo.java 文件,开始编写测试脚本
-
示例脚本如下,可供参考
package com.example;

import org.testng.annotations.Test;

import static io.restassured.RestAssured.given;
import static org.hamcrest.Matchers.equalTo;

public class TestDemo {

 @Test(description = "Verify that the Get Post API returns correctly")
 public void verifyGetAPI() {

  // Given
  given()
    .baseUri("https://jsonplaceholder.typicode.com")
             .header("Content-Type", "application/json")

  // When
  .when()
    .get("/posts/1")

  // Then
  .then()
    .statusCode(200)
    // To verify correct value
    .body("userId", equalTo(1))
    .body("id", equalTo(1))
    .body("title", equalTo("sunt aut facere repellat provident occaecati excepturi optio reprehenderit"))
    .body("body", equalTo("quia et suscipit\nsuscipit recusandae consequuntur expedita et cum\nreprehenderit molestiae ut ut quas totam\nnostrum rerum est autem sunt rem eveniet architecto"));
 }
 @Test(description = "Verify that the publish post API returns correctly")
 public void verifyPostAPI() {

  // Given
  given()
    .baseUri("https://jsonplaceholder.typicode.com")
    .header("Content-Type", "application/json")

    // When
    .when()
    .body("{\"title\": \"foo\", \"body\": \"bar\", \"userId\": 1\n}")
    .post("/posts")

    // Then
    .then()
    .statusCode(201)
    // To verify correct value
    .body("userId", equalTo(1))
    .body("id", equalTo(101))
    .body("title", equalTo("foo"))
    .body("body", equalTo("bar"));
 }
}
调试脚本
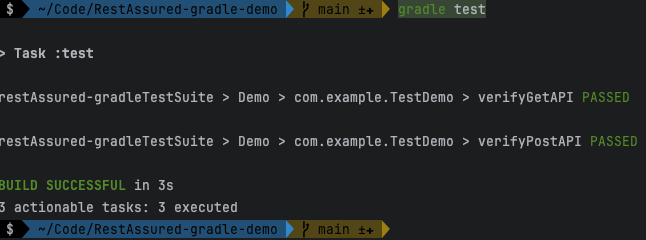
- 打开本项目的 Terminal 窗口,执行以下命令运行测试脚本
gradle test
查看测试报告
命令行报告

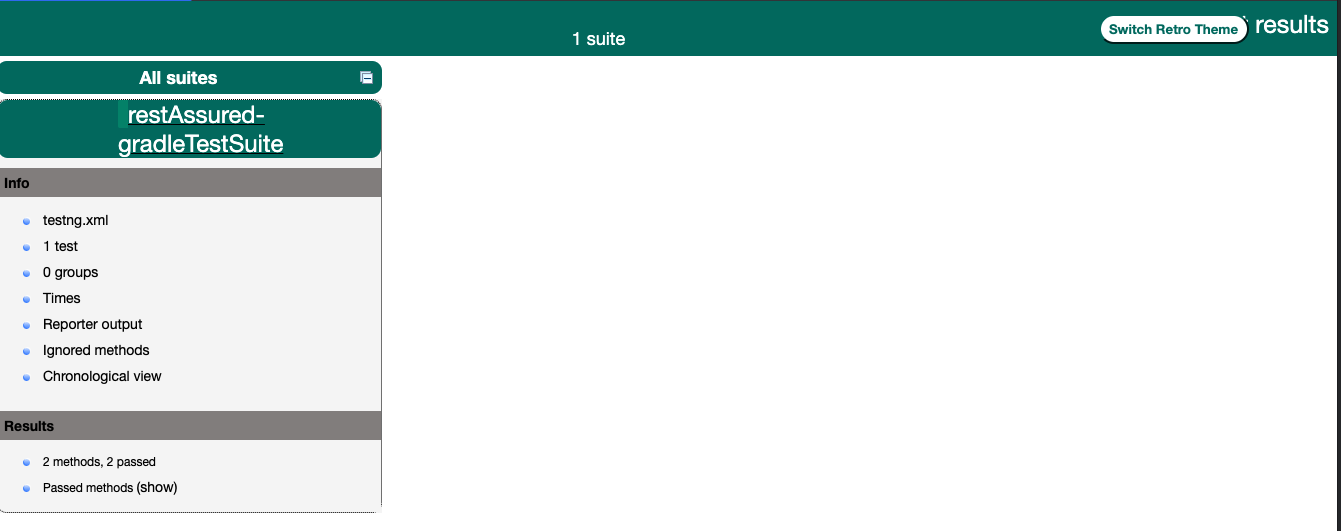
testng html 报告
- 打开项目 build/reports/tests/test 目录
- 点击 index.html 文件,查看测试报告

Maven 版本
可参考 demo 项目:https://github.com/Automation-Test-Starter/RestAssured-maven-demo
创建一个空的 Maven 工程
mvn archetype:generate -DgroupId=com.example -DartifactId=RestAssured-maven-demo -DarchetypeArtifactId=maven-archetype-quickstart -DinteractiveMode=false
初始化完成:完成向导后,Maven 将在新建项目目录并生成一个基本的 Maven 项目结构
配置项目 pom.xml
在 项目中 pom.xml 文件中添加以下内容
可 copy 本项目中的 pom.xml 文件内容,更多配置可参考官方文档
<!-- 依赖配置 -->
  <dependencies>
    <!-- https://mvnrepository.com/artifact/io.rest-assured/rest-assured -->
    <dependency>
      <groupId>io.rest-assured</groupId>
      <artifactId>rest-assured</artifactId>
      <version>5.3.1</version>
      <scope>test</scope>
    </dependency>
    <!-- https://mvnrepository.com/artifact/org.testng/testng -->
    <dependency>
      <groupId>org.testng</groupId>
      <artifactId>testng</artifactId>
      <version>7.8.0</version>
      <scope>test</scope>
    </dependency>
  </dependencies>
  <!-- 插件配置 -->
      <plugin>
        <groupId>org.apache.maven.plugins</groupId>
        <artifactId>maven-surefire-plugin</artifactId>
        <version>3.2.1</version>
        <configuration>
          <suiteXmlFiles>
            <suiteXmlFile>src/test/resources/testng.xml</suiteXmlFile>
          </suiteXmlFiles>
        </configuration>
      </plugin>
testng.xml 配置
-
在 src/test目录下创建一个 resources 目录,用于存放测试配置文件
-
在 resources 目录下创建一个 testng.xml 文件,用于配置 TestNG 测试框架
-
示例配置如下,可供参考
<?xml version="1.0" encoding="UTF-8"?>
<!DOCTYPE suite SYSTEM "http://testng.org/testng-1.0.dtd">
<suite name="restAssured-gradleTestSuite">
<test thread-count="1" name="Demo">
    <classes>
        <class name="com.example.TestDemo"/> <!-- 测试脚本 class-->
    </classes>
</test> <!-- Test -->
</suite> <!-- Suite -->
初始化目录
目录结构可参考 » 项目结构
在项目的测试源目录下创建一个新的测试类。默认情况下,Gradle 通常将测试源代码放在 src/test/java 目录中。你可以在该目录下创建测试类的包,并在包中创建新的测试类
创建一个 TestDemo 的测试类,可以按以下结构创建文件
src
└── test
    └── java
        └── com
            └── example
                └── TestDemo.java
demo 测试接口
Get 接口
- HOST: https://jsonplaceholder.typicode.com
- 接口地址:/posts/1
- 请求方式:GET
- 请求参数:无
- 请求头:“Content-Type”: “application/json; charset=utf-8”
- 请求体:无
- 返回状态码:200
- 返回头:“Content-Type”: “application/json; charset=utf-8”
- 返回 body:
{
    "userId": 1,
    "id": 1,
    "title": "sunt aut facere repellat provident occaecati excepturi optio reprehenderit",
    "body": "quia et suscipit\nsuscipit recusandae consequuntur expedita et cum\nreprehenderit molestiae ut ut quas totam\nnostrum rerum est autem sunt rem eveniet architecto"
}
Post 接口
- HOST: https://jsonplaceholder.typicode.com
- 接口地址:/posts
- 请求方式:POST
- 请求参数:无
- 请求头:“Content-Type”: “application/json; charset=utf-8”
- 请求体:raw json 格式 body 内容如下:
{
    "title": "foo",
    "body": "bar",
    "userId": 1
}
- 返回状态码:201
- 返回头:“Content-Type”: “application/json; charset=utf-8”
- 返回 body:
{
    "title": "foo",
    "body": "bar",
    "userId": 1,
    "id": 101
}
编写脚本
-
打开 TestDemo.java 文件,开始编写测试脚本
-
示例脚本如下,可供参考
package com.example;

import org.testng.annotations.Test;

import static io.restassured.RestAssured.given;
import static org.hamcrest.Matchers.equalTo;

public class TestDemo {

 @Test(description = "Verify that the Get Post API returns correctly")
 public void verifyGetAPI() {

  // Given
  given()
    .baseUri("https://jsonplaceholder.typicode.com")
             .header("Content-Type", "application/json")

  // When
  .when()
    .get("/posts/1")

  // Then
  .then()
    .statusCode(200)
    // To verify correct value
    .body("userId", equalTo(1))
    .body("id", equalTo(1))
    .body("title", equalTo("sunt aut facere repellat provident occaecati excepturi optio reprehenderit"))
    .body("body", equalTo("quia et suscipit\nsuscipit recusandae consequuntur expedita et cum\nreprehenderit molestiae ut ut quas totam\nnostrum rerum est autem sunt rem eveniet architecto"));
 }
 @Test(description = "Verify that the publish post API returns correctly")
 public void verifyPostAPI() {

  // Given
  given()
    .baseUri("https://jsonplaceholder.typicode.com")
    .header("Content-Type", "application/json")

    // When
    .when()
    .body("{\"title\": \"foo\", \"body\": \"bar\", \"userId\": 1\n}")
    .post("/posts")

    // Then
    .then()
    .statusCode(201)
    // To verify correct value
    .body("userId", equalTo(1))
    .body("id", equalTo(101))
    .body("title", equalTo("foo"))
    .body("body", equalTo("bar"));
 }
}
调试脚本
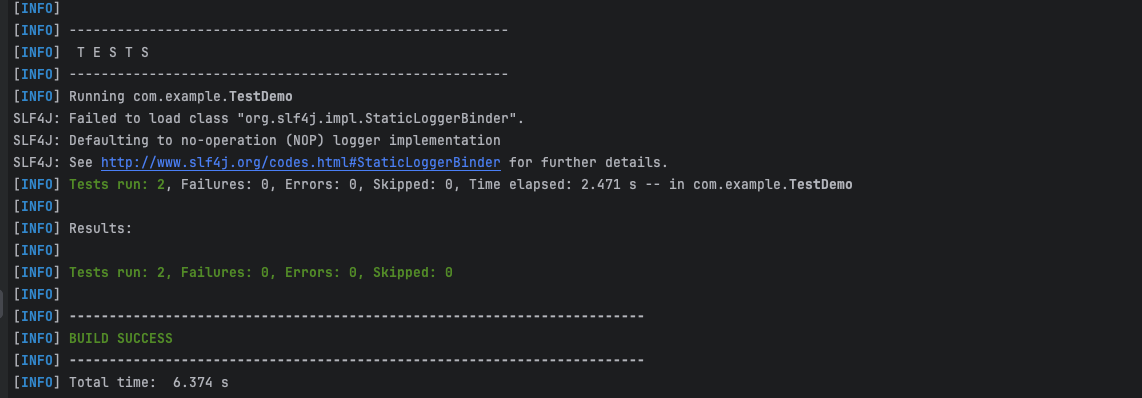
- 打开本项目的 Terminal 窗口,执行以下命令运行测试脚本
mvn test
查看测试报告
命令行报告

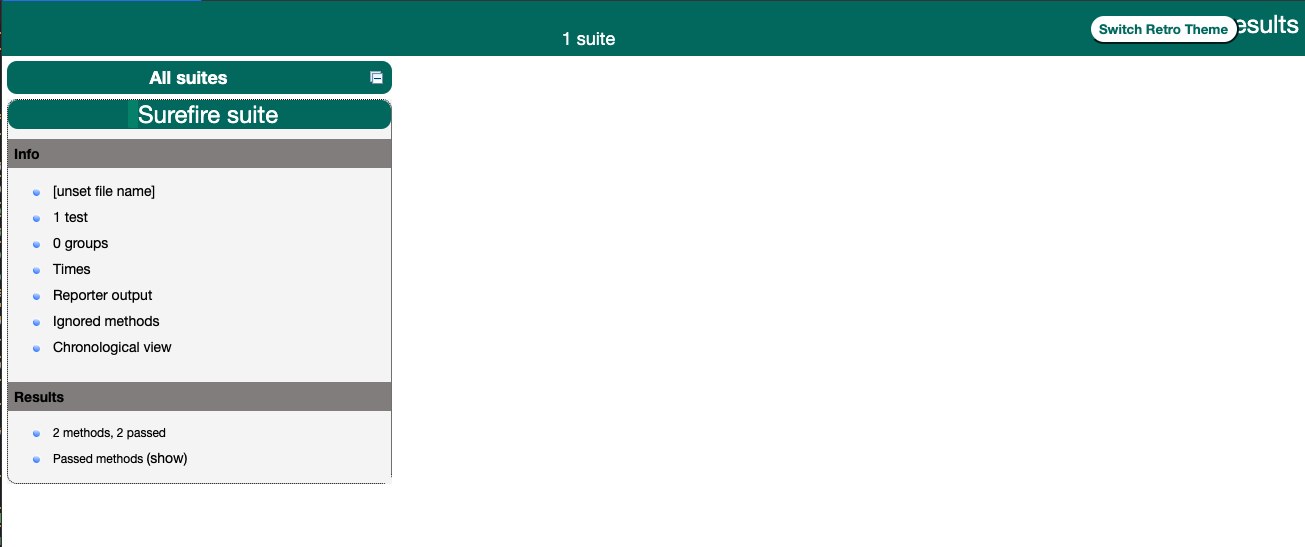
testng html 报告
- 打开项目 target/surefire-reports 目录
- 点击 index.html 文件,查看测试报告

更多信息
- 访问我的个人博客:https://naodeng.tech/
- 我的 QA 自动化快速启动项目页面:https://github.com/Automation-Test-Starter
欢迎关注软件测试同学的公众号“软件测试同学”,原创 QA 技术文章第一时间推送。
